The speed of your blog has a lot to do with your search engine ranking, the number of visitors, bounce rate, and ultimately your earnings. And if you run an image-heavy blog – say a travel, food, photography, or fashion blog, you know that images take a lot of space and eventually lead to slower load times.
You can’t really reduce the number of images because they play an important role in your articles. What you can do, however, is to pay more attention to their size.
This is where image compression tools come to your rescue. These tools ‘compress’ your images and reduces their file size without a noticeable change in their quality. Images with reduced file size load faster and lead to better engagement from your audience.
There are many tools out there that can do the job. In this article, I want to share some free image compression tools that will help you optimise images for your blog. Some of these tools are Mac/PC apps while others work right from your WordPress dashboard.
Have a look.
1. ImageOptim
Let me begin with my personal favourite. All images uploaded to my blog are compressed with ImageOptim and I prefer it for its speed, easy-to-use GUI, drag and drop support, and the fact that it’s an open source tool. ImageOptim works great for both JPG and PNG images and I love the final output.

ImageOptim starts with removing EXIF, GPS, and other unnecessary data associated with an image. You can choose to retain this data if you prefer. You can also turn on lossy optimisation as well as set the desired quality of your compressed image.
It offers a Mac app which can be downloaded from the project’s website. There’s no Windows version but you can use their online tool or use recommended alternatives like File Optimizer mentioned below.
2. File Optimizer
If you are blogging from a Windows device, I would suggest you use File Optimizer by Nikkho. It integrates more than 90 third party tools and supports more than 400 file extensions.
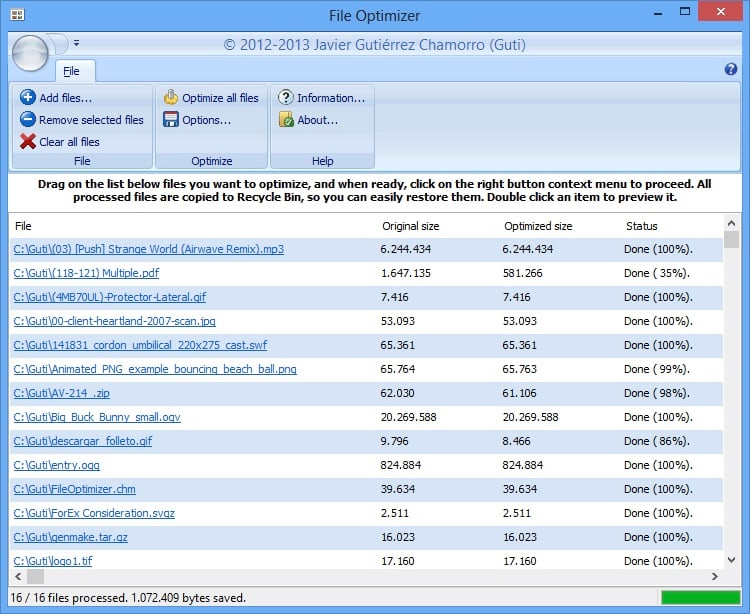
File Optimizer supports JPG and PNG images and provides an easy interface. You can drag and drop all your images on its screen to optimise them in bulk.
File Optimizer is an open source and free tool that can be downloaded from its SourceForge page. While ImageOptim is available for Mac only, File Optimizer is available for Windows only. Use any of these tools depending on your operating system.
3. Optimizilla
Don’t wish to download any app on your Mac or PC? Fine. You can use Optimizilla which is an online image optimizer that can be used right from your web browser.
According to its website, Optimizilla uses a smart combination of the best optimisation and lossy compression algorithms. It works with JPG and PNG images and promises to shrink them to the minimum possible size while keeping the quality.
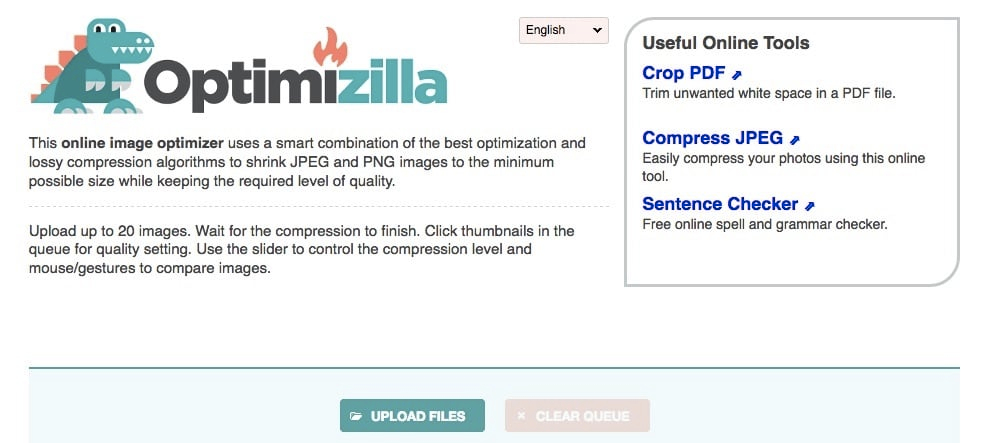
To use Optimizilla, head over to its website where you can upload up to 20 images at the same time. Once images are uploaded, you can click individual thumbnails to set final quality.
After the compression is finished, click Download All to get your compressed images in one handy zip file.
Images uploaded to Optimizilla are said to be deleted after 30 minutes. I can’t verify this claim and you better not upload images you consider private.
All three tools mentioned above work either on your computer or offer a web interface. Now let’s look at some popular image compressing plugins that you can use right from your WordPress dashboard.
4. EWWW Image Optimizer
EWWW is my favourite WordPress plugin when it comes to image compression. It can compress JPG, PNG, and GIF images as well as PDF files and offers a set of options that you can change according to your requirements.
EWWW can be configured to use parallel optimisation to improve speed. It can optimise your images right when you upload or at a later time. If you wish to run optimisation process on the desired schedule, EWWW can do that, too.
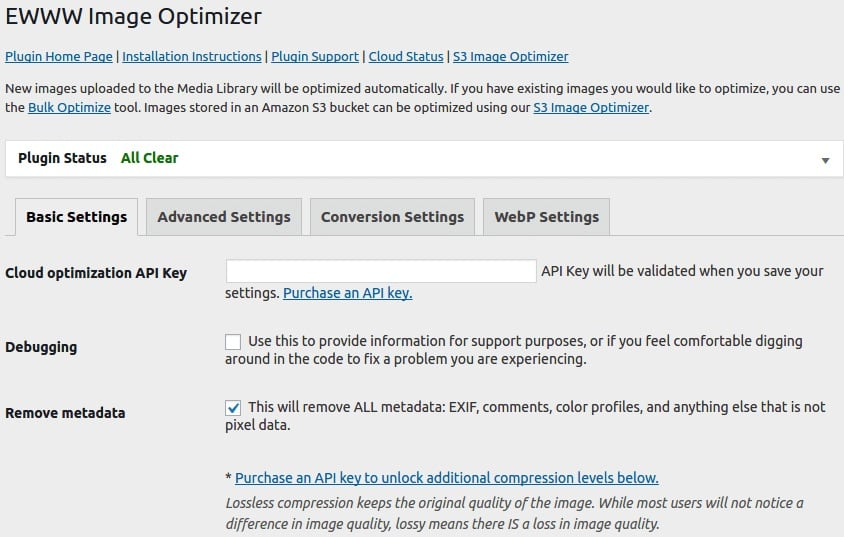
Moreover, EWWW also offers an option to disable unnecessary image sizes generated by your theme and plugins. I use this option to disable every image size I don’t use on my blog which helps me to save space on my server.
There’s also a paid plan called EWWW Image Optimizer Cloud that promises faster speed among other features. I am fine with the free plugin, though.
5. reSmush.it Image Optimizer
Another popular image compressing plugin that works not only with WordPress but also with Drupal, PestaShop, and Magento along with other CMS and tools.
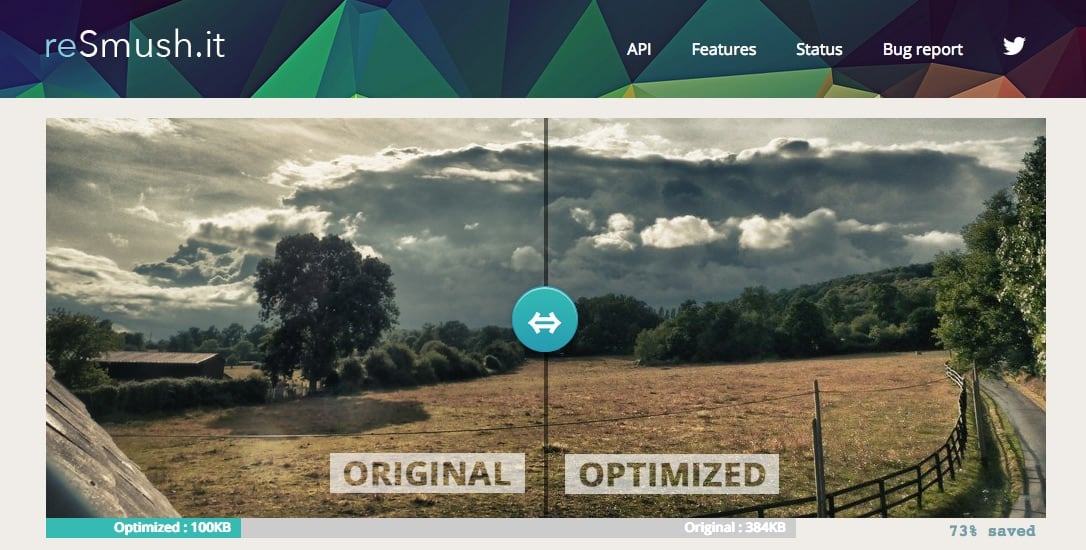
According to its stats, reSmush.it has optimised over 3 billion images since 2015. It supports PNG, JPG, GIF, BMP, and TIF images for free. The only limitation is that your image has to be below 5 MB in size.
reSmush.it uses PNGQuant, JPEGOptim, and OptiPNG libraries in their tool. Images can be optimised on upload (or later) and you can set optimisation level as your requirements.
6. ShortPixel Image Optimizer
ShortPixel is actually a ‘freemium’ tool which offers free and paid plans. It supports JPG, PNG, and GIF images and offers Lossy, Lossless, and Glossy optimisations. Images are sent to their server and sent back after optimisation. This helps reduce the burden on your own server.
![]()
Signing up for their free plan will give you 100 ‘credits’ and there comes a catch. A theme will usually generate different sizes of an image. And when ShortPixel optimises each of these ‘sizes,’ one credit is used. So it doesn’t really mean 1 credit = 1 image.
If you need more, you can purchase one of their paid plans as required.
7. Smush Image Compression and Optimisation
From the makers of some popular WordPress plugins comes one of the most popular image compression tools. Smush is fast, user-friendly and provides impressive results.
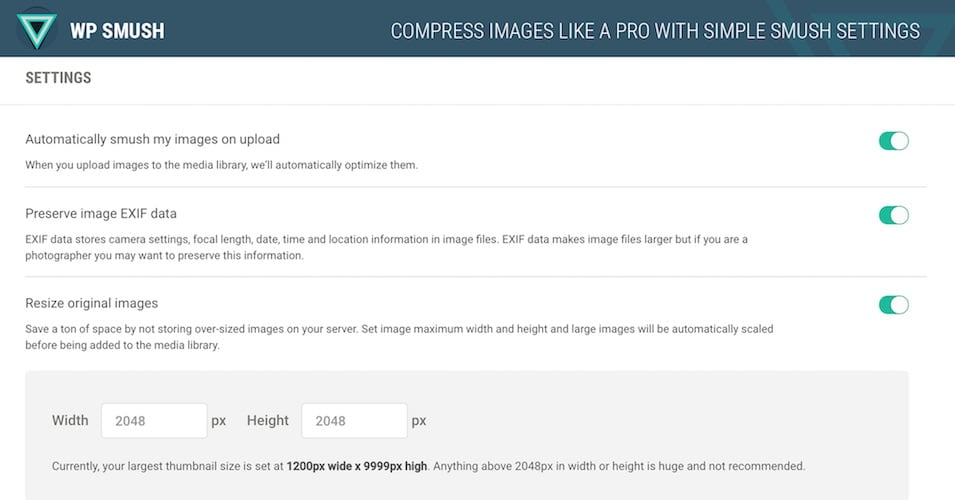
With over 1 million installs and over 17 billion optimisations so far, Smush by WPMU Dev is undoubtedly one of the most loved image compression tool. And if you need a plugin that just works, Smush is for you.
8. Imagify Image Optimiser
I will end this list with one more ‘freemium’ image compression plugin. Imagify allows you to choose from Normal, Aggressive, and Ultra optimisation levels. Your images are auto optimised on upload and you have an option to backup originals.
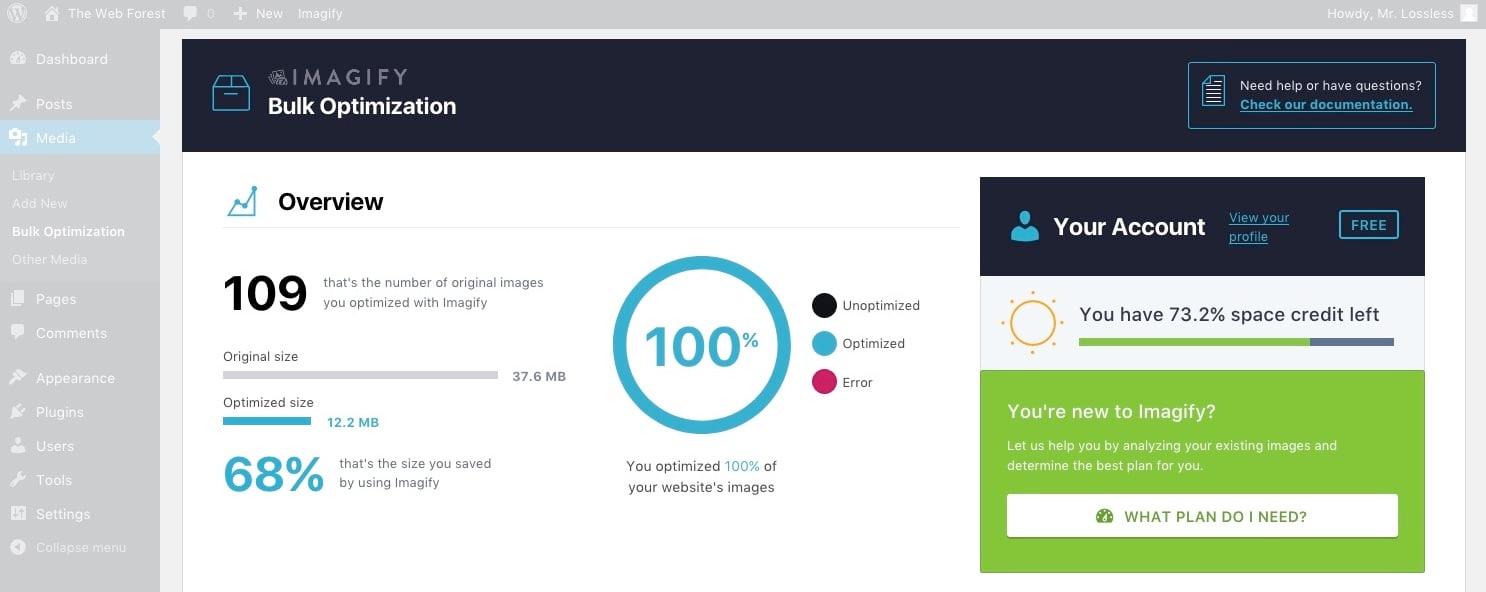
Not only Imagify works great, it also offers a nice interface. Their free plan allows you to compress up to 25mb worth of images every month. If you need more, you can choose to sign-up for any of their paid plans that start with $4.99 for 1GB of data per month.
Free Image Compression Tools: Summary
There are many ways you can speed-up your blog and using optimised images is one of them. You can use a tool on your PC/Mac, use an online interface, or use one of those popular WordPress plugins to optimise your images for free. All image compression tools mentioned here are free and some of them offer more features for a price. You can use any of these tools that seem to meet your expectations.
There was a time when I was obsessed with the speed and optimisation of my blogs. I wanted to see everything in green on those speed checkers and as a matter of fact, I did achieve that goal. But when I came back to sanity, I realised that speed wasn’t the only thing that required my attention. I needed more and better content to survive.
If you’re serious about speeding-up your blog, also consider choosing a better host, using a well-coded theme, using a cache plugin, and remove unnecessary plugins from your blog. But remember that in addition to a fast blog, you also need good content that your audience appreciates. A fast blog is worth nothing without great content.
Alright, folks. This was Parvez and you were reading the list of 8 free tools that will help you compress images for your blog. I hope you found this article informative and I’d like to thank you for reading.
Cover image source: Emma Matthews on Unsplash
